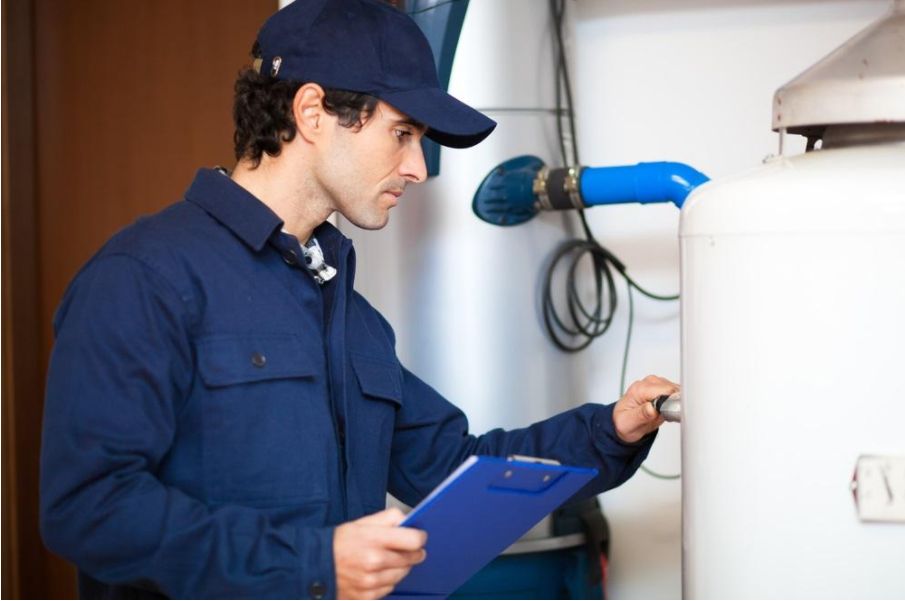
Is your water heater leaking? If the heater is not functioning properly, you need to replace it and opt for a new unit. You may install the gas water heating system in just one day. If you do not need the hot water installation now, there are chances that you will need it in sometime. It is important to replace the water heater if it has crossed 15 years time. Replacing the heating system is not difficult as you just need a few tools to carry out the installation procedure.
When you are trying to find a gas water heater, you need to make few comparisons. All the units appear to be same, but slight differences make the unit unique from another. Before you start shopping for the hot water system, know your hot water usage and learn facts on water heater system. Before installing a hot water system, you need to call the local department to inspect or determine if any permit is required. A plumbing inspector or electrical inspector can tell you if needed. If the water tank starts leaking, the heating system needs replacement. If there is no hot water or if the system is inefficient, you again need to consider a new component.
If the water is dripping from the gas water heater, immediately replace the heater. Do not wait for the leakage to get bad. Your energy cost will shoot up to a great extent if you do not pay heed to the leakage. Immediate repair of the system or the installation of new system is highly recommended.

Some Steps to Hot Water Installation That One Needs To Follow:
Shut Down the Supply of Water and Gas
The first step is turning off the supply of gas to water heater. This can be done by simply shuting off a valve. Just turn the shut off valve so that the handle is at a right angle. Shut off supply to main water and drain the line simply by turning or opening the faucet.
Drain Off the Water in The Hot Water Tank
You can find lightweight garden hoses that you can attach to the drain valve. Drain water from the tank but be cautious of water which is scalding hot. Now disconnect the gas line at the union with the help of wrenches. Unscrew the pipe from the control valve with the help of a pipe wrench. After this, just open the screw of the vent pipe from the vent hood and move that to the side. Use the tube cutter to cut the hot and cold-water line. Slide the water heater out of the way.
The Process of Attaching the Relief Valve
Use a Teflon tape to attach threads of new pressure and temperature valve. Screw the relief valve tightly into water tank with the help of pipe wrench. Use copper discharge pipe and attach that.

Connect All the Pipe Assemblies
Attach the copper adapter to the 6-inch length ¾ inch copper while screwing the pipe assemblies into the cold-water inlet and a hot water outlet at the top of the tank. In order to protect from galvanic corrosion, you can use plastic lined nipples. This step is necessary if there is a supply of hard water.
Attaching the Water Lines
Now is the time to slide the new water heater into its place. If you want, you can extend the old tube or recut it to let that meet the new one. If at all the tubing fails to line up, you can offset the line with the help of 45 degrees elbows. Now, reattach the vent and make use of two distinct wrenches in order to attach the lines.
After carrying out each and every step with precision, make sure you check for back drafting. Check for any leakage in the components and light up the pivoting light. After installing the new water heater, you must dispose away the old one carefully.